Finding and Sanitizing Backcountry Water Sources

Research suggests that nearly 90% of surface water in some of the most traveled wilderness corridors contains Giardia or Cryptosporidium. It's a sobering thought when you're miles from the nearest faucet and your hydration bladder is bone-dry. This guide covers the grit of identifying, collecting, and cleaning water in remote areas—specifically focusing on adventure travel where every ounce of gear weight counts. Getting this right isn't just about avoiding a bad stomach; it's about staying out there longer without needing a rescue helicopter because of dehydration.
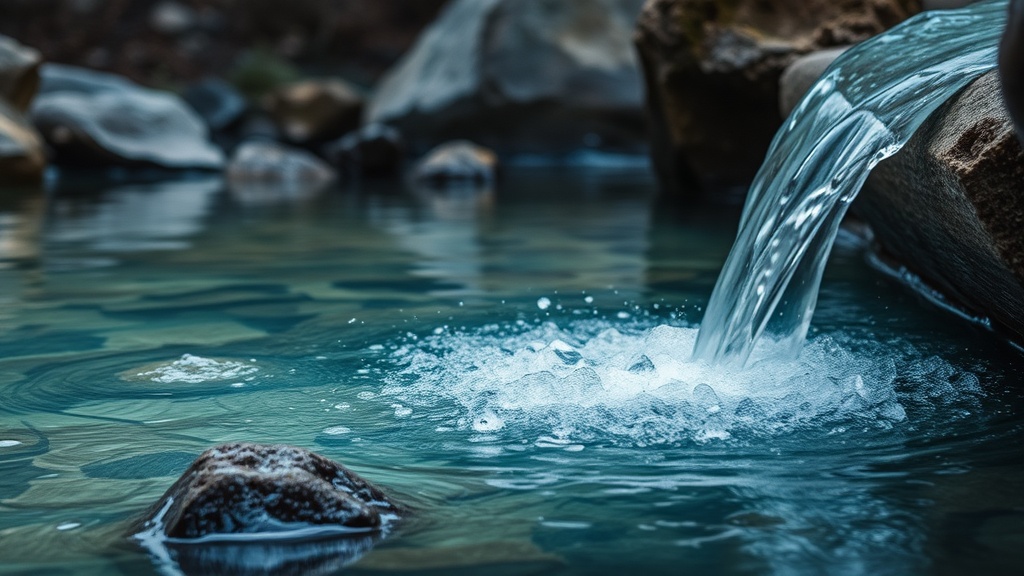
When you're out in the wild, you can't just trust a stream because it looks clear and cold. Even the most pristine-looking alpine creek can be a breeding ground for pathogens if there’s a dead marmot a few hundred yards upstream. You've got to be smart about where you pull your water from and even smarter about how you treat it before it touches your lips. We aren't talking about luxury camping here; we're talking about staying functional in environments that don't care about your comfort.
How do you find reliable water sources in arid terrain?
In the high desert of the Southwest—my home turf in Tucson—finding water is an exercise in reading the land's secrets. You aren't looking for a rushing river; you're looking for subtle clues. Check your topographical maps for "tinajas," which are natural rock basins that hold rainwater long after the storms have passed. Look for clusters of cottonwood trees or willows; their bright green leaves are a dead giveaway that moisture is lurking just beneath the surface. If you see bees or birds congregating in a specific canyon, follow them. They know where the seeps are.
Animal tracks are another huge indicator. If you see multiple trails converging toward a single point in a wash, there's a high probability of a water hole—or at least a damp spot where you can dig a solar still. Just remember that if you find a stagnant pool, it’s going to be full of organic matter. You’ll need to work harder to make it drinkable. Always prioritize moving water over still water whenever possible, as oxygenation helps keep certain bacteria at bay, though it doesn't kill the protozoa we're worried about.
What are the most reliable filtration methods for silty river water?
Glacial milk and silty desert rivers like the Colorado can ruin a high-end hollow-fiber filter in minutes. If you try to pump that brown slurry directly, you’ll be left with a clogged, useless piece of plastic. The trick is to let gravity do the heavy lifting first. Fill a collapsible bucket or a large dry bag with the silty water and let it sit undisturbed for at least an hour—preferably overnight. Most of the sediment will settle to the bottom, leaving a clearer layer on top that won't instantly choke your gear.
For those who don't have time to wait, a bandana or a coffee filter used as a pre-filter is a key step. Wrap it around the intake of your pump or secure it over the mouth of your bottle. It won't stop the microscopic bugs, but it will catch the sand and grit that wear down your filter's internal membranes. I've found that using a squeeze-style filter, like the ones recommended by the National Park Service, offers a good balance between speed and weight, provided you maintain them regularly. Don't forget to back-flush your system after every few liters when dealing with high-sediment sources.
"I've seen too many hikers trust a 'clear' stream just because it's high up. It's a mistake that can end a trip in twelve hours of misery."
Chemical treatments are a solid backup, but they have their limits. Iodine and chlorine dioxide tablets are light and easy to pack, but they take time—usually thirty minutes to four hours depending on the temperature and the specific pathogen. If the water is freezing cold, the chemical reactions slow down significantly. Also, chlorine dioxide is much better at killing Cryptosporidium than iodine is. If you're going the chemical route, make sure you follow the instructions on the packet to the letter. Don't get impatient and drink it early.
Can you safely drink from high-altitude snowmelt without boiling?
There's a common myth that snow is naturally pure. It isn't. Snow acts as a giant filter for the atmosphere, catching dust, pollutants, and even bacteria as it falls. More importantly, once it's on the ground, it's subject to animal waste. Pika and marmots live in those high-altitude rock piles, and their droppings can easily contaminate the melting runoff. You should treat snowmelt with the same level of suspicion as you would a pond in a cow pasture.
Boiling is the gold standard for sterilization. Bringing water to a rolling boil for at least one minute (three minutes if you're above 6,500 feet) will kill everything. The downside? It uses a lot of fuel. If you're on a multi-day trek where fuel is limited, you’re better off using a mechanical filter or UV light. UV purifiers are great for clear snowmelt because they don't change the taste, but they require batteries and don't work well in murky water. Always have a mechanical or chemical secondary plan. According to the CDC, a combination of filtration and chemical treatment is the safest way to ensure your water is truly pathogen-free.
Maintenance of your equipment is where most people fail. You've got to keep the "clean" side of your gear away from the "dirty" side. It sounds simple, but when you're exhausted and it's raining, it's easy to accidentally dip your clean output hose into the raw river water. That's all it takes. Cross-contamination is the silent killer of many successful expeditions. Keep your dirty bags labeled and never use your clean bottle to scoop water directly from the source. It’s these small, disciplined habits that separate the pros from the people who spend their flight home in the airplane lavatory.
If you're using a hollow-fiber filter in freezing temperatures, you must keep it close to your body. If the water inside those tiny fibers freezes, it expands and cracks the material, rendering the filter useless. You won't even see the damage, but the bacteria will sail right through those microscopic holes. I sleep with my filter in my sleeping bag when the mercury drops. It's not particularly comfortable, but it's a lot better than the alternative. Take care of your gear, and it’ll take care of you when the terrain gets tough.